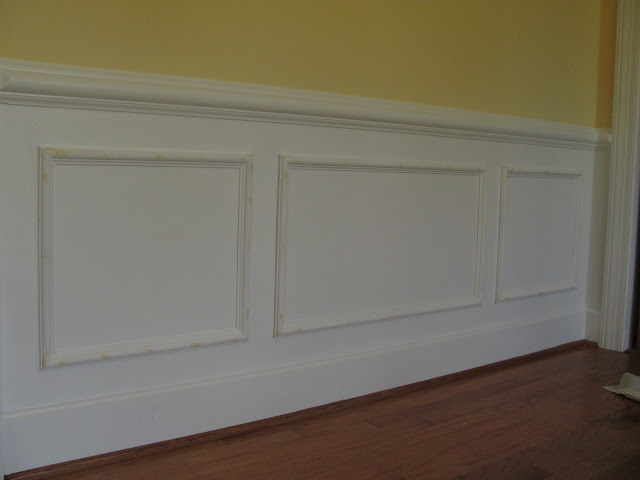
Our current project we're working on is installing trim in the dining room! When we painted the dining room (almost a year ago already, yikes!) we painted the area below the chair rail a glossy crisp white with the intention of putting picture frame molding underneath. Well, never mind how long it took to actual get around to installing the trim, but this weekend we finally started! Here's how we did it:
1. First we had to measure and mark the boxes. We used a chalk line.
1. First we had to measure and mark the boxes. We used a chalk line.
2. Next we sanded and primed the trim.
3. Then my diligent husband had to learn how to miter corners-he got lots of practice. He cut the pieces to fit. This took lots of patience!
 |
| Notice our trusty assistant coming to check on the progress |
 |
| Take a little more off that corner! |
5. We filled in the nail holes with wood filler and used paintable caulk around all the edges and corner joints.
6. Now all we have to do is paint 2 coats over the trim, and then we will finally be done with this project!
Here is the finished project!


I'm so impressed that you got it done in a weekend (and after garage sale-ing, too). Thank goodness for Miss Millie's valuable assistance.
ReplyDeleteIt's so cute!! I can't wait to see it!!
ReplyDelete