If you're like me, the thought of hanging picture frames is daunting, especially if they have to be symmetrical or precise. I can't stand when one frame is slightly off...
shivers. Here is a simple way to make hanging art less daunting. Other people probably have better ways, but this is what we came up with. If you want to hang frames precisely and spaced exactly command strips are the easiest. But if you want your art to
stay on the walls then here is a simple method to hang art using nails.
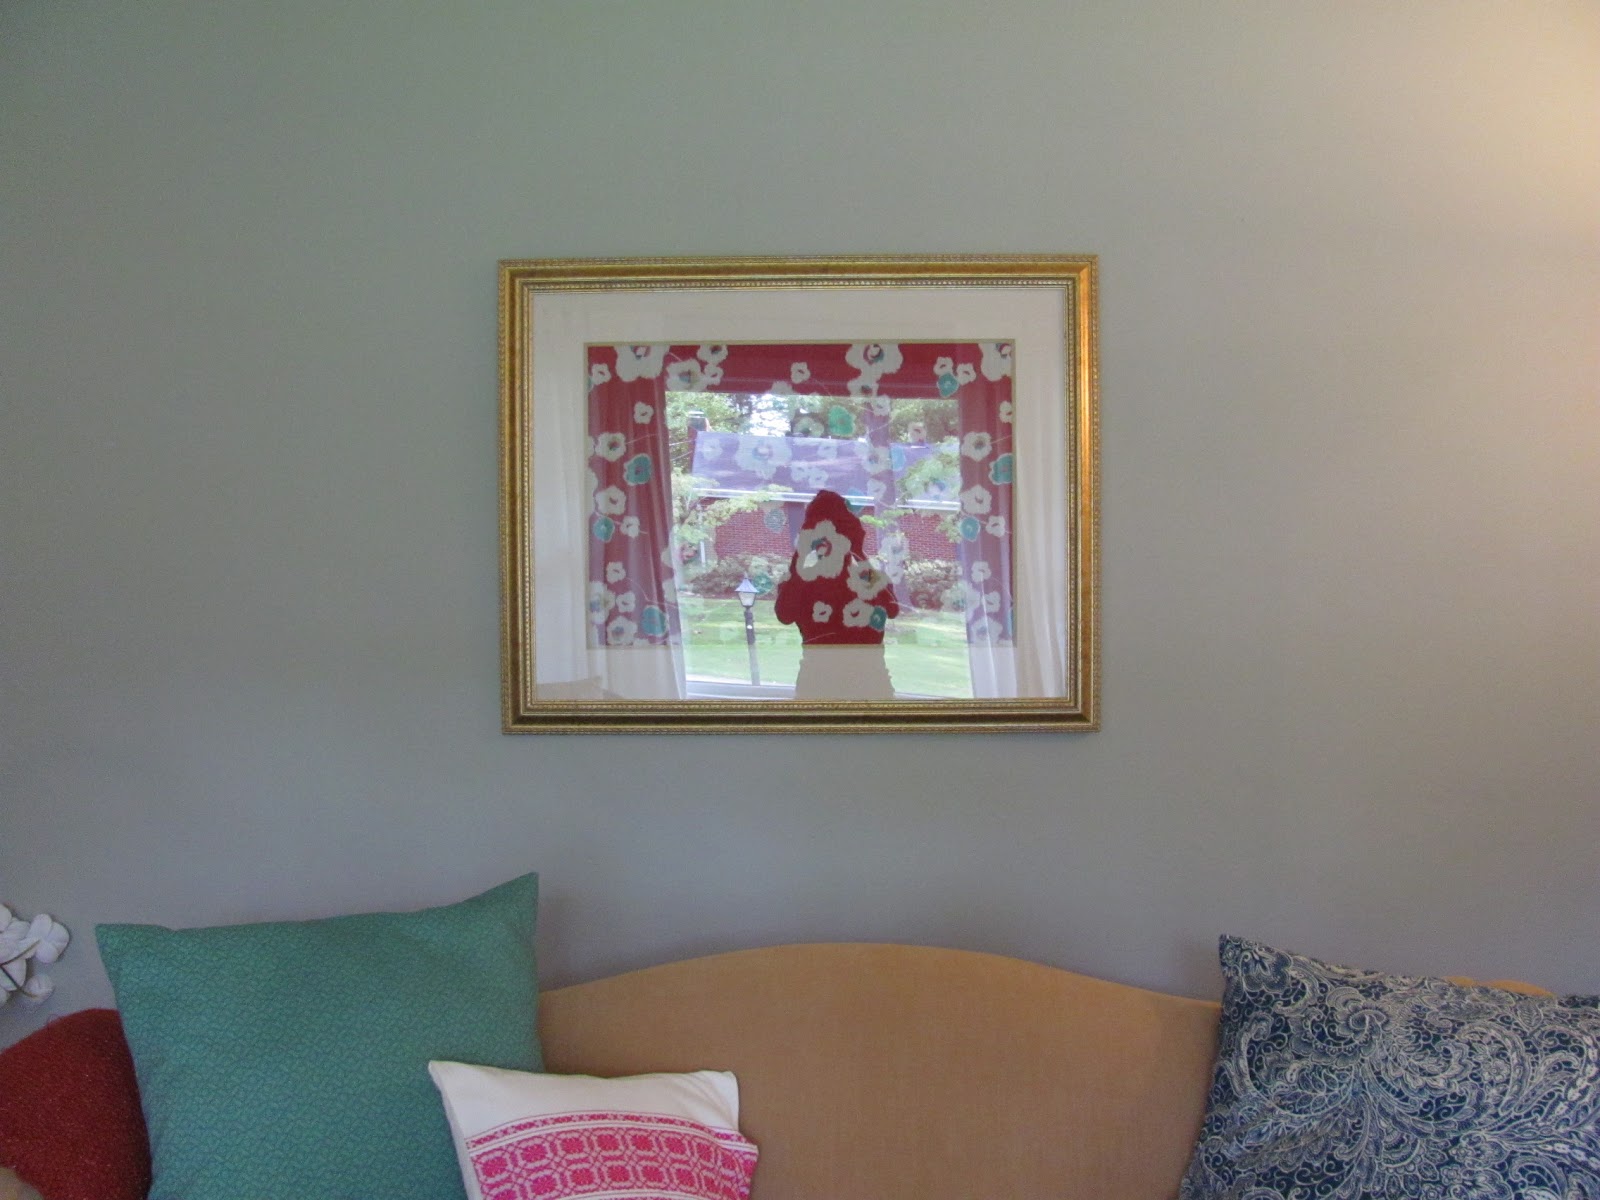
Here is the problem. He looks a little lonely and skimpy all by himself.
We wanted to add
these frames that I refinished. So first we simply taped a strip of scrap paper next to the frame-nothing fancy nor measured. We had a scrap left over from a roll of brown paper. Next came the only part requiring a measuring tape. We marked on the paper where we wanted the edge of the frame to go-I think we used 2" between the gold frame and the new one. We marked it in two places so the new frame would be straight.
Next we needed to transfer the placement of the picture hanger on the back of the frame to the paper. We just used wood glue that happened to be lying on the coffee table from an earlier project. We just smeared a dab of the glue across the picture hanger, then held the frame up to the paper using the aforementioned measured marks to line it up and pressed. The glue left a mark so we knew exactly where to hammer our nail. Afterwards of course we quickly wiped off the glue from the hanger-we didn't have any problem with residue or anything.
Our strip of brown paper was long enough that we could use it to position both frames. Then we simply repeated this on the other side.
Voila! That wasn't so hard...so why do I still have frames leaning against my baseboards waiting for their turns to be hung?


No comments:
Post a Comment